How to Install WordPress Easily: Step-by-Step for Beginners
Installing WordPress is the first real step toward building a blog you fully control. While many guides make it sound technical or overwhelming, the reality is much simpler, especially with modern hosting tools. If you follow the right process, you can install WordPress and have a working site ready in minutes.
This guide is for beginners who already understand the basics of domains and hosting. They want a clear, reliable way to get started. You’ll learn how to install WordPress on hosting. You will also set it up locally for practice. You will add themes and plugins, and secure your site with SSL. Each step is explained in a practical, no-confusion way so you know exactly what to do and why it matters.
By the end of this guide, you’ll have WordPress installed correctly and ready for content. Once WordPress is installed, you should create a blog website. It needs to be structured for content, easy navigation, and long-term growth. This is where blog-focused design becomes critical. For that, you can later connect this setup with a solid website design for blogging strategy.
When you’re ready, we’ll move step by step, starting with what you need before installing WordPress.
What You Need Before Installing WordPress
Before you install WordPress, it’s important to have a few basics in place. This avoids setup errors later and makes the installation smooth, even if it’s your first time.
Here’s what you need before starting.
1. A domain name
This is your website address, like example.com. If you’re using hosting providers such as Hostinger, a free domain is often included with the plan. For localhost installation, a domain is not required.
2. Web hosting or a local server
You need a hosting account that supports PHP. It should also support MySQL to install WordPress online. Most modern hosts are WordPress-ready by default.
If you want to learn or test, you can install WordPress on localhost using tools like XAMPP or Local WP.
3. Hosting login or control panel access
You should have access to your hosting dashboard. It is usually cPanel or a custom panel. This is where you’ll find tools like auto-installers, databases, and file managers needed to install WordPress.
4. An email address
WordPress requires an email during setup for admin notifications, password recovery, and security alerts. Use an active email you check regularly.
5. Basic understanding of file access (optional but helpful)
You don’t need to be technical. However, knowing what folders like public_html or htdocs mean can help. This knowledge is useful if you install WordPress manually or troubleshoot later.
Once these are ready, you can install WordPress in multiple ways: using one-click installers, manual upload, or localhost setup. In the next section, we’ll start with the most common and beginner-friendly method.
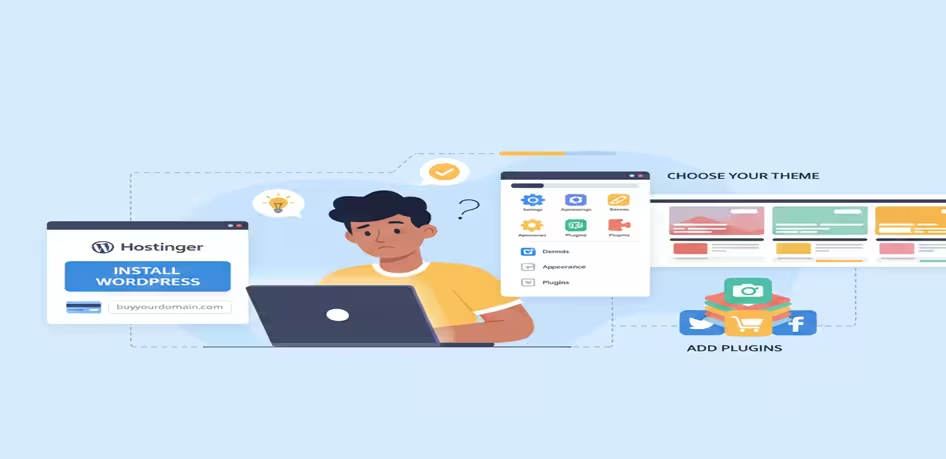
How to Install WordPress on Hosting (Using Hostinger as an Example)
There are many hosting companies that let you install WordPress, but for beginners, using Hostinger makes the process easier. Hostinger offers both hosting and domain registration, so you can get everything in one place. Buying your domain together with hosting ensures your DNS is automatically configured, saving you extra setup steps.
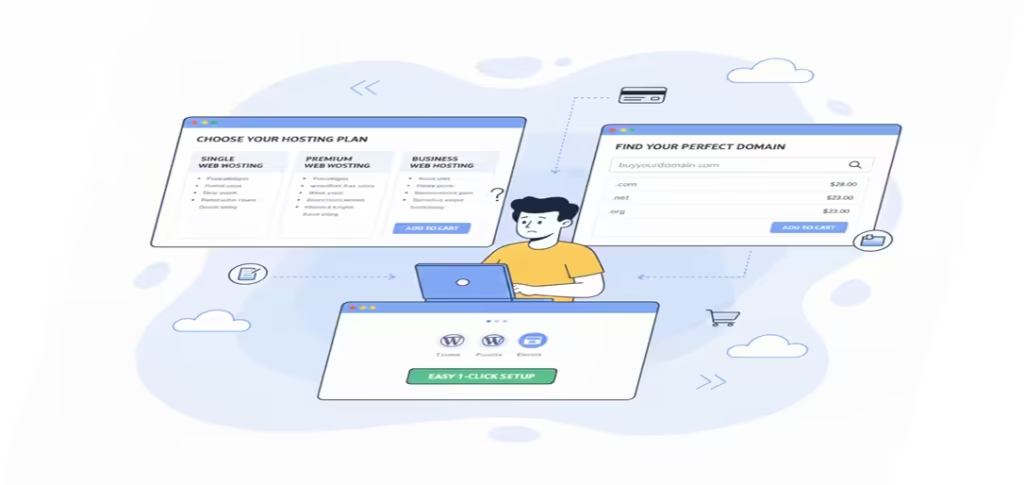
Step 1: Purchase Hosting and Domain
If you don’t already have a domain, start by purchasing both hosting and domain from Hostinger. Select a hosting plan that supports WordPress (most of Hostinger’s shared hosting plans do). Once you’ve completed the purchase, log in to your Hostinger account and open hPanel.
Step 2: Access the WordPress Installer
In hPanel, go to the Websites section and click Auto Installer or WordPress Installer. This tool handles most of the setup automatically, so you don’t need to deal with technical details.
Step 3: Configure Installation Settings
- Select the domain where you want WordPress installed.
- Choose your website language.
- Create admin credentials (username, password, and email).
Leave the installation directory empty if you want WordPress on your main domain (e.g., yourdomain.com instead of yourdomain.com/blog).
Step 4: Complete Installation
Click Install. Hostinger will set up WordPress automatically. After a few moments, you’ll get your WordPress admin URL:yourdomain.com/wp-admin
With hosting and domain ready, your WordPress site is now live. Using Hostinger’s setup makes installation fast, beginner-friendly, and reduces potential DNS or domain-related issues.
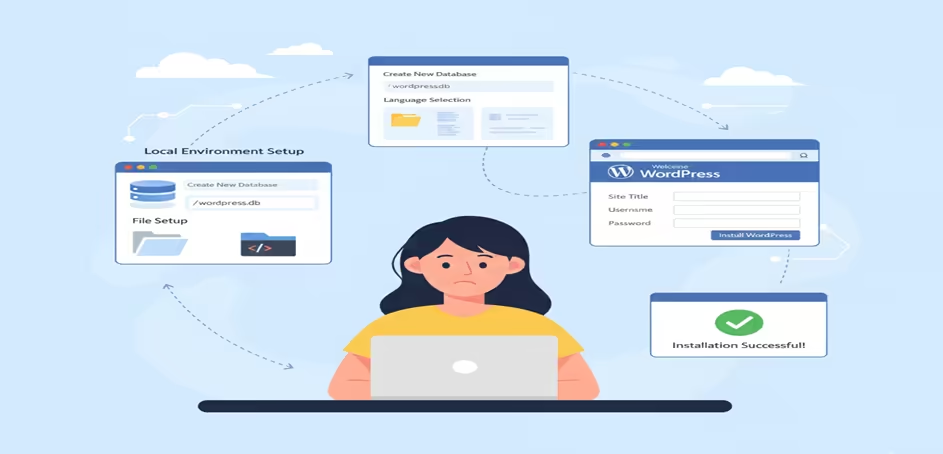
How to Install WordPress on Localhost (For Testing and Learning)
If you want to test WordPress or learn how it works without buying hosting, you can install it on your computer using localhost. This creates a private environment where your site runs locally, invisible to the public. It’s perfect for experimenting with themes, plugins, and customizations before going live.
Step 1: Install a Local Server
To run WordPress on your computer, you need a local server environment. Popular options include XAMPP, WAMP, or MAMP (for Mac). Download and install one of these tools, then start the server (Apache and MySQL must be running).
Step 2: Create a Database
Open the local server’s control panel and access phpMyAdmin. Create a new database for your WordPress site and give it a descriptive name (e.g., myblog_db). You’ll use this database during WordPress setup.
Step 3: Download WordPress
Go to wordpress.org and download the latest version of WordPress. First, extract the files. Then, move them into your local server’s htdocs folder if you are using XAMPP. Otherwise, place them in the equivalent directory in your local server.
Step 4: Start WordPress Installation
Open your browser and go to http://localhost/your-folder-name. You’ll see the WordPress setup screen. Select your language and click Continue.
Step 5: Connect WordPress to the Database
Enter the database details you created earlier:
- Database name:
myblog_db - Username:
root(default for most localhost setups) - Password: leave blank (default for XAMPP/WAMP)
- Database host:
localhost
Click Submit, then Run the Installation.
Step 6: Set Up Admin Account
Create your WordPress admin username, password, and email. This account will let you access the dashboard and manage your site.
Once completed, your local WordPress site is ready. You can now explore themes, install plugins, and experiment without affecting a live website.
How to Install a WordPress Plugin
Plugins are essential for adding extra features and functionality to your WordPress blog. From SEO tools to contact forms, plugins make your site more powerful without coding.
Step 1: Access the WordPress Dashboard
Log in to your WordPress admin area by going to yourdomain.com/wp-admin.
Step 2: Navigate to Plugins
On the left-hand menu, click Plugins → Add New. This page shows popular, recommended, and featured plugins.
Step 3: Search and Select a Plugin
Use the search bar to find the plugin you want. For example, search for “Yoast SEO” for SEO features or “WPForms” for contact forms.
Step 4: Install and Activate
Click Install Now, wait a few seconds, then click Activate. The plugin is now ready to use. Some plugins may require additional setup, which is usually guided on the plugin’s settings page.
Tip: Only install plugins you really need. Too many plugins can slow down your site and create security risks.
How to Install a WordPress Template (Theme)
A WordPress theme controls your blog’s design, layout, and overall look. Choosing and installing the right theme is key to a professional, user-friendly website.
Step 1: Access the WordPress Dashboard
Log in to your WordPress admin area (yourdomain.com/wp-admin).
Step 2: Navigate to Themes
From the left-hand menu, go to Appearance → Themes. Here you can see the current active theme and any installed themes.
Step 3: Add a New Theme
Click Add New at the top. You can browse free themes from the WordPress library or upload a purchased theme by clicking Upload Theme.
Step 4: Install and Activate
Once you select a theme, click Install, then Activate. Your blog will now reflect the new design.
Step 5: Customize Your Theme
Go to Appearance → Customize to adjust colors, fonts, header, menus, and other settings. Customizing your theme ensures it matches your brand and provides a better user experience.
Pro Tip: Choose a lightweight, responsive theme optimized for speed and SEO. Avoid heavy themes that may slow down your blog.
How to Install SSL on WordPress
Securing your WordPress blog is essential for both user trust and SEO. An SSL certificate encrypts the connection between your site and visitors, ensuring data safety and enabling the “https://” protocol. Most modern browsers also flag non-SSL sites as “not secure,” which can drive visitors away.
The good news is that many hosting providers, including Hostinger, offer free SSL certificates for your WordPress site. This makes securing your blog straightforward, even for beginners.
Step-by-Step: Installing SSL on WordPress with Hostinger
- Log in to Hostinger
Access your Hostinger account dashboard where your domain and hosting are managed. - Select Your Hosting
Click on the hosting account where your WordPress site is installed. - Enable SSL
Look for the “SSL” or “SSL Certificates” section in the dashboard. Hostinger allows you to enable free SSL with a single click. - Activate HTTPS
After enabling SSL, go to your WordPress dashboard and install a plugin like Really Simple SSL. This plugin automatically redirects all traffic to HTTPS and ensures your site loads securely. - Verify SSL
Visit your website and check the address bar. It should now show a padlock icon and start with https://, confirming the SSL is active.
Using Hostinger’s free SSL option simplifies the process, removes the need for technical configuration, and immediately secures your WordPress blog. With SSL in place, your visitors feel safer. Your blog gains a small SEO boost because Google favors secure websites.
Tips After WordPress Installation
Installing WordPress is just the first step in launching a successful blog. To make your blog secure, fast, and optimized for readers and search engines, follow these essential tips:
1. Configure Basic Settings
Go to your WordPress dashboard and check Settings → General. Confirm your site title, tagline, timezone, and permalink structure. A clear permalink structure (like www.yourblog.com/post-name) improves readability and SEO.
2. Install Essential Plugins
Plugins extend your blog’s functionality. For beginners, focus on:
- SEO plugin (Yoast SEO or Rank Math) to optimize posts for search engines.
- Caching plugin for faster page load speed.
- Security plugin to protect your blog from hacks.
- Backup plugin to ensure your content is safe.
3. Choose a Lightweight, Responsive Theme
Your theme determines how your blog looks and performs. Pick a lightweight, mobile-friendly theme optimized for speed. Avoid themes with too many built-in features that can slow down your site.
4. Set Up Categories and Menus
Organize your posts into clear categories. Create a navigation menu that helps users find content easily. Proper structure improves user experience and helps search engines understand your blog.
5. Optimize Your First Posts
Before publishing, ensure your content:
- Uses proper headings (H1, H2, H3)
- Includes internal links to other posts or pages
- Contains optimized images with alt text
- Has meta titles and descriptions set via your SEO plugin
6. Enable SSL and Security Measures
If you haven’t already, enable your SSL certificate (as discussed in the previous section) and activate basic security settings. This protects your site and boosts trust with visitors.
7. Monitor Performance and Analytics
Install Google Analytics or a similar tool to track traffic, popular posts, and user behavior. This data helps you refine content strategy and make informed decisions as your blog grows.
Following these post-installation tips ensures your WordPress blog is secure, fast, and ready for growth. By taking care of these basics early, you set up a foundation for long-term success and better SEO performance

Tenzin Tashi is an SEO and WordPress FSE web design specialist at Tenz Digital. He focuses on on-page and technical SEO, keyword research, and building SEO-friendly websites using modern analytics tools.